Zly.II - The Hacked Station
Walkthrough


Zly.ii - Full walkthrough
Start:
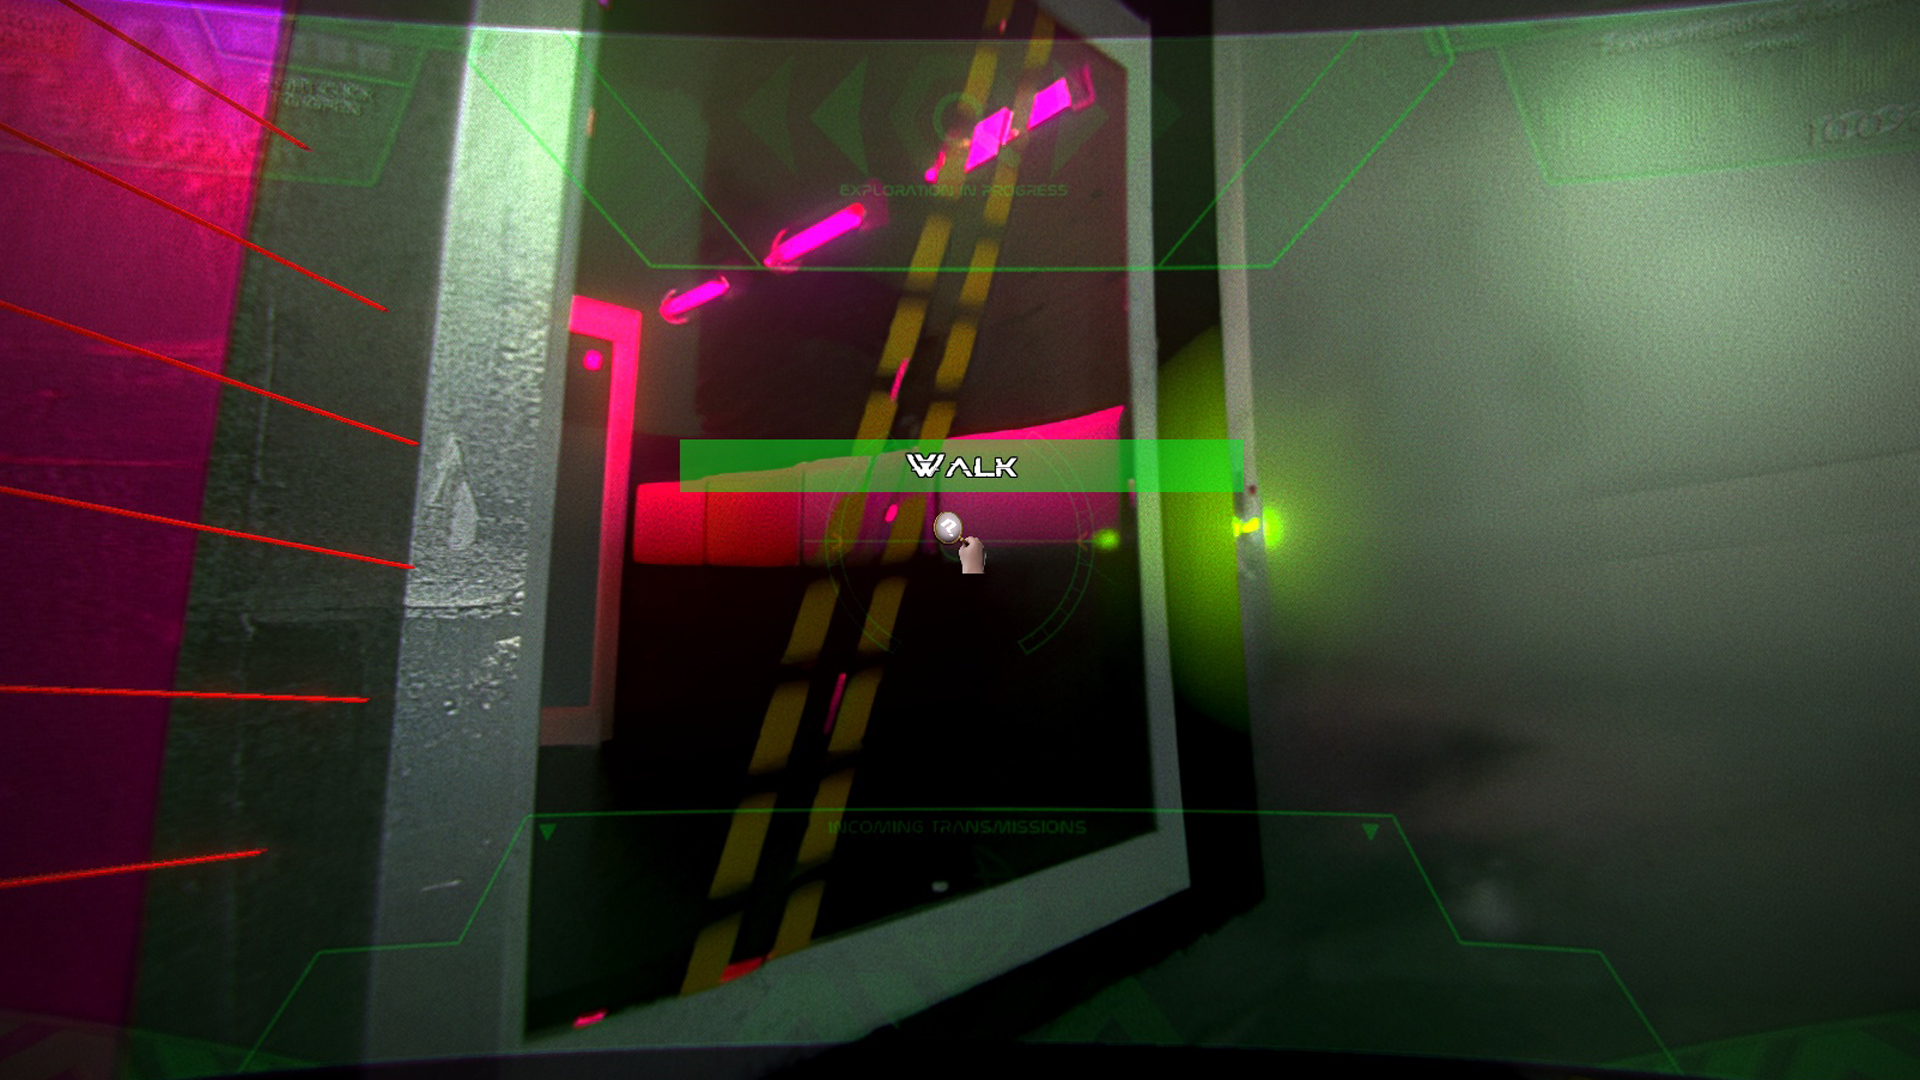
After the introduction, you can try to leave the first dark room but laser rays are blocking the door. There doesn't seem to be anything to help you around, but look at the black squared surface on the floor near the yellow sphere until you find a memory card. This will give you access to IDUNN and a first diary page. IDUNN will now detect a signal specific to Tacstru near the lasers, and you can disable them by entering a password. After reading the diary you will find the correct answer: MAID (or maid).
Explore the station:
There are a few locked doors. For now, forget the closed box with a red light in the large room (= the room with a vehicle).
You can find a digipad in the white corridor with the locked circular armored door. There is also a digipad near the Teleport Pod (room with a strong pink lighting). In order to open these doors, you should look around for hint papers with a "?" symbol on them. Some of these papers give you passwords to try but don't tell you for which door they are, so you have to go and see if they are accepted.
The first useful password can be found in the small room with a 4 racks-shelf. It gives you 14021, and allows to open the door next to the Teleport Pod, in order to go to the upper level of the station.
Then continue to explore, and in a corridor you should find the next useful password on a wall next to a door. It gives you 84265, that you can use to open the circular door in the white corridor. You have now access to all of the most important parts of the station.
During your exploration, you can find the Black Cube, out of reach, and various parts of the story (IDUNN, diary, "?" pages). They will learn you that you can obtain the Cube after activating a series of devices: the Large Ring where the Cube is located, the Yellow Sphere where you arrived at the beginning, and the Pod with the pink lighting.
It is your main objective to find out how to handle them in order to get the Cube.
Let's activate the Large Ring to begin with:
To do so, you need to use the commands on the large board near the Ring. It has red and white buttons and 2 switches. However you don't know how to operate it. Walk to the corridor next to the Ring and look around up over your head until you find a motherboard. It has several resistors that are hilighted inside a square, but you need some documentation to understand it.
Look for "?" pages if necessary, as they are useful. You should learn from one of them that you have to set a frequency of 9 on the commands board.
Now move to the white corridor with the circular door and unlock it to reach the Control Room (the one with a dead body). You can find there several screens. Look at the 2 screens near the dead astronaut to find information regarding how to operate the Ring. One of the graphics has 4 squares placed in the same configuration than the resistors before. The other graphic has color codes and numbers. All of it goes together with the motherboard and the commands board of the Ring. By mixing these informations, you should find that the resistor corresponding to the 1st square has a value of 2, the one for the 2nd has a value of 3, 3rd square value is 7, and 4th square value is 9. We can also deduce that the 4 buttons (red and white) of the board have to be pressed a certain amount of times, and these numbers we've just found are giving the answer. Finally a drawing of a button shows that it has 4 positions, and they correspond to the screens' graphics once again. We know from before that the frequency has to be 9, and the only possible answer is to turn that black button to position 2 (the one on the left).
Once you have understood it all and made the necessary links, you can go back to the commands of the Ring and operate it: press 2 times on the red button 1. Press 3 times on the white button 2. Press 7 times on the white button 3 (the one on the very right) and press 9 times on the red button 4 (the one on its left, be careful not to be mistaken between those two). Now turn the black button on the left to 9 Ghz (which is the 2nd position, on the top left), and finally ignite the Ring by turning the last button to ON. The Ring is activated.
Setting up the Yellow Sphere:
We mainly need things that are found in the small truck in the hull, so let's head there and enter the vehicle. Inside there is a modified computer that will be useful. Next there is a device called triangulation radar, which doesn't work but still has a remanent image of the last coordinates that had been searched. Make a copy of this image. Continue to look around for "?" pages. One gives you an important clue: "house - dot - square - bridge || pyramid - door - losange".
Go to the room of the Yellow Sphere and use the Computer laptop item on the black surface on the floor. Look at the screen of the computer to see 7 circles with red shapes. It's actually quite easy to make the link: you have 7 of these red shapes, 7 circles on the triangulation radar in the vehicle, and 7 words in the "?" clue. The 1st line of red shapes correspond to the 4 first words (house, dot, square, bridge), which themselves correspond to the circles with a house-like character, a black dot, a square and a reversed U. You thus draw the red shapes inside of the circles of the triangulation device. Do the same with the 2nd line with 3 red shapes to complete the last 3 circles of the radar.
You should obtain a kind of map with several red paths. Only one is a complete path with red dots that reach out to white numbers on the radar: 125, 90 and 765, or the other way around (we can't know, so we have to try the 2 possibilities). Go back to the laptop near the Yellow Sphere, click on the screen where you are asked to enter coordinates, and try the 2 possibilites. It appears that the good answer is 765.90.125 (the Yellow Sphere is now ready).
Opening the airlock:
In the Control Room, you can find another computer with a schematic view of the Pod, the upper level door, and the Airlock. Each area within the 3 boxes is also assigned with a number in the top right corner: I (the left door), II (the Pod) or III (the airlock). If you look at it closely, there is an asterisk (*) onto the digipad between the door and the Pod. Another asterisk in the bottom of the picture says what to do to open II, then III. The idea is to take the very first password entered here previously (14021), add to it the value 1530, and by doing so you obtain a new code: 15551. When you use it on the digipad, you open access to the airlock. Then to make the Pod available, you don't need to add 1530 again: simply type 15551 again on the digipad. The airlock will be closed but in return it will turn off the lasers.
Note that the airlock contains an important "?" page. You can switch between opening the airlock and turning off the lasers by typing in the code again and again.
Opening Tac's secret box in the garage:
You need to get access to the Master Computer in the blue room to activate the Pod, but for that you first need to open the box with a red light in the garage (the room with the vehicle). To do so, walk to the upper level of the station and, in the first room near the ladder, look on the wall for the digipad with the tag of Aglione (a pirate skull). You should have obtained the code earlier in the airlock, so enter it: 357159. Go downstairs to the box on a wall of the garage, it is now opened. Take the paper inside, telling specific commands to type on the computer.
Activating the Pod:
You can now use the Master PC, so go to the blue room and get familiar with the commands. Using the commands and finding the good ones to activating the Pod shouldn't be too difficult, but security issues prevent you from using them as you would like to. Open the document at the root of X called Secret. Aglione has written a short text and explains how you can use a new Reroot command. Learn to use it and delete the folder at the root of E. You should in the end discover the full command, which is: X/Tac/Reroot//Delete(FreeMeOrIKillYou)
Then all there is to do is connect to the Pod with X/Tac/Connect(Pod), then start it with X/Tac/Start(Pod). If you successfully removed the lasers of the Pod before (by using the password 15551 a 2nd time), then you are ready for the final stage.
Location of the memory cards:
The Ring, the Yellow Sphere and the Pod have been set up to retrieve the Black Cube. At this stage you might want to get the last memory cards to complete the story of Tacstru in the diary. If you need help, the memory cards can be found here:
- At the beginning on the floor near the Yellow Sphere (you can't continue without it).
- On a case/crate next to the vehicle in the hull.
- In the control room on the floor, on the right of the seat with the astronaut.
- Between the 4 racks of the shelf in the small room.
- On a hatch on the wall of the corridor leading to the Ring.
- In the airlock.
- On the floor in the first room at the upper level.
- On the crate in the room of the Master PC.
- In the secret box with a red light in the garage.
Recovering the Cube:
When you are ready, use the Yellow Sphere to move the Black Cube away. As soon as possible, run to the Pod and enter it, and get teleported near the Cube. You finally obtained it!
The next events will however change your objectives. Take the pieces of the Sota on the floor when you can grab them.
Final mission:
The first thing to do is to reassemble the broken Sota. Put the pieces on the stone table from your inventory, then reply to the questions. To find the good answers to the first questions you need to read the text from the OT stone. This is what you should reply:
1 - Tytaah
2 - Hexagonal
3 - roughly translated
4 - an ecological disaster
5 - piece 1
6 - piece 3
7 - piece 2
You should now be able to look at the final Sota key.
At the top of the OT stone there is a small paper with symbols in what is said to be a "hypnotic figure". Compare this figure with the assembled Sota. You can see that there are as many symbols as yellow letters. If you find the correct letters, it will thus give you a list of symbols. The letters to find are written just under the Sota in capital letters: SOTA KEY. So on the Sota, look for the yellow S letter, then adjacent to it there is O, then T, then A, K, E and Y... If you superimpose the figure with the letters of the Sota, you find the corresponding symbols in the following order: black rectangle, dot, house, losange, square, black triangle, reversed U.
You have probably seen similar symbols around: by clicking on the cube shape at the front of the OT stone. It allows to observe the station at distance, and by clicking on the buttons you can see the rooms that you know. Each of the buttons has one of the symbols, so click on them in the order that you just found. It's not going to activate anything : it allows you to replace each symbol with a specific color. Indeed, each room clearly has its own general tint: the room of the Yellow Sphere is yellowish, the Control Room is greenish, etc.
By replacing the symbols with a color, in the order found from the Sota Key, you should get the following sequence: Yellow, Black, Green, Pink, Red, Blue, White. All there is to do is walk to the colored crystals and touch them in this order one after another, and the Cube will be freed from the OT stone.
Climb with the ladder at the top of the OT stone, take the Cube and enjoy the end of the game!
Files
Get Zly.II - The Hacked Station
Zly.II - The Hacked Station
Play an astronaut infiltrating a dark mysterious station, and solve different kind of puzzles...
| Status | Released |
| Author | The Icehouse |
| Genre | Adventure, Puzzle |
| Tags | Dark, First-Person, Mystery, Singleplayer |
More posts
- Zlyii Final Edition to release tomorrow!Sep 16, 2024
- Zlyii Final Edition to release on Steam and itchio!Sep 09, 2024